


 English
 中文简体
中文简体
+86-0575-8215 2808
/8200 8688/8239 2526
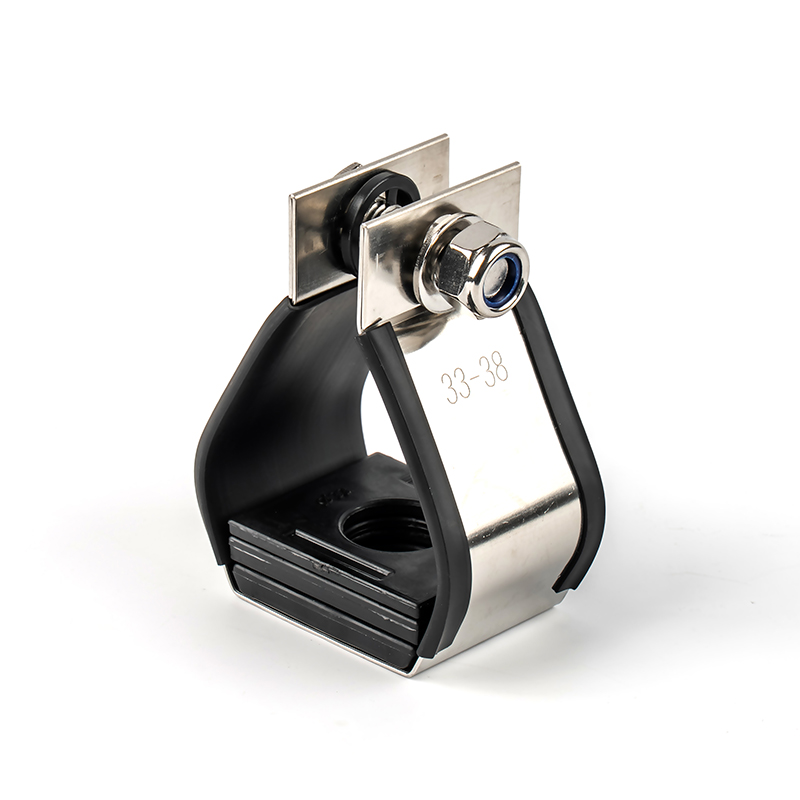
The single cable Cleats made of 316 stainless stee...
View more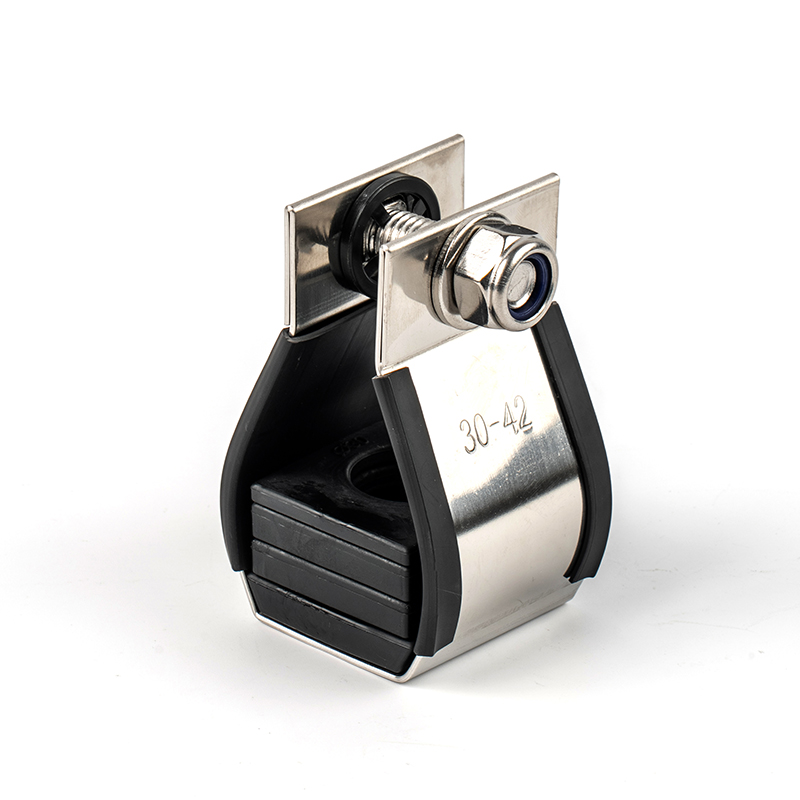
Manufactured from high-grade 316 stainless steel, ...
View more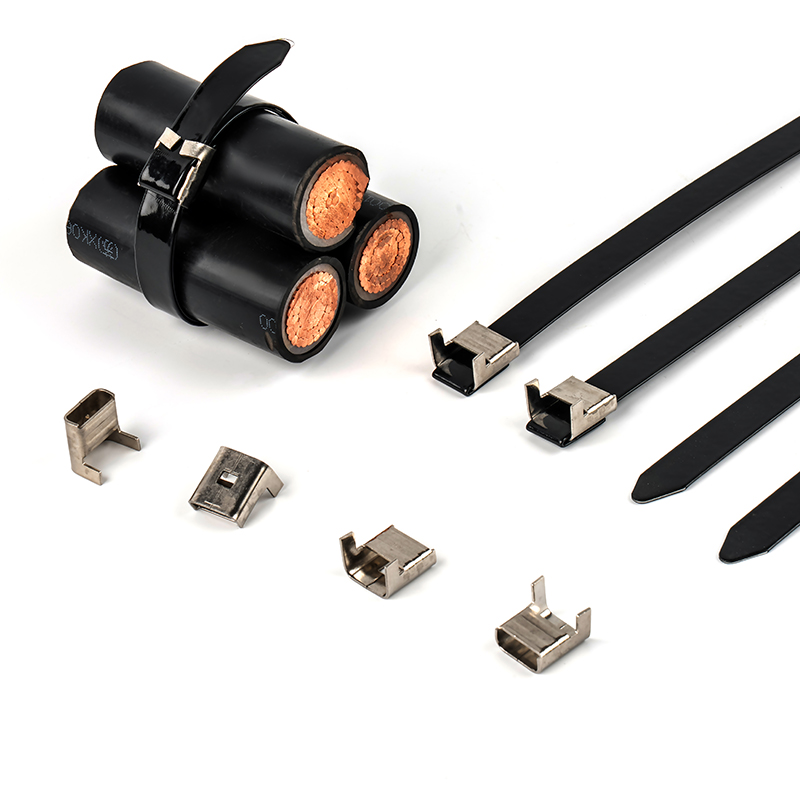
Brand Name: FengfanApproved Certificate: DNV &...
View moreContent
A panel shop finishing 400 nylon ties a shift by hand can usually double that output with one manual tension gun, and the tails come out flush instead of chewed. Nothing about the ties changes. Only the tool, the tension setting and the blade change.
That is the practical rule for buying a cable tie gun: match the tool to the tie material and strap width first, decide between manual, battery and pneumatic by volume second, and treat blades and nose pieces as consumables in the budget. Get those three right, and the gun pays for itself in rework that never happens.
This guide covers what a cable tie gun actually does, how to pair it with nylon, acetal and stainless steel ties, where the throughput and cost crossover points sit, and the specification lines worth confirming before you place a purchase order.
Every cable tie gun performs three jobs in one stroke: it threads the tail through the tie head, pulls it to a repeatable tension, and cuts the tail at a set height. Manual installation does the same three jobs, but the tension comes from a wrist and the cut comes from side cutters. That is where the variability starts.
A correctly set gun applies the same tension to tie number one and tie number four hundred. Hand tensioning does not. A bundle tightened on Monday morning by the strongest person on the shift and the same bundle tightened on Friday afternoon by someone who has installed 3,000 of them are not the same joint.
Too loose, and cables move inside the bundle, rub against each other and wear through insulation on vibrating equipment. Too tight, and you crush the jacket, deform the tie head and start a stress crack that surfaces as a field failure rather than a line failure.
Flush cut is not cosmetic. A tail left 3-4 mm long is a snag point on a harness, a scratch risk on painted panels and a cut risk on hands during service. On coated stainless ties, a cut that bites into the coating leaves bare 316 steel exposed, which is exactly the corrosion start point the coating was specified to prevent.
A gun removes operator judgement from tension and cut height. That is the entire value proposition, not speed alone.
The most expensive mistake in this category is using one tool family for every tie. Nylon and stainless steel ties are tensioned by completely different mechanisms, and a stainless strapping tool used on a nylon tie will crush the head.
| Tie family | Correct tool class | How tension is set | Frequent mistake |
|---|---|---|---|
| Nylon and PA66 ties | Manual tension gun, battery automatic gun, pneumatic gun | Adjustable tension dial plus flush blade | Using a metal-tie strapping tool, which crushes the nylon head |
| Polyester or PVC-coated stainless ties | Tension-and-cut strapping tool | Tension set for the strap width, cut kept above the coating edge | Cutting into the coating so bare 316 steel shows |
| Uncoated stainless ties (ball-lock, ladder, L-type) | Tensioner with built-in cutter | Lever tension, with ball-lock or buckle carrying the load | Over-tensioning ladder ties until the slots deform |
| Wide stainless band, up to 15.9 mm | Band tensioner plus buckle crimping tool | Two steps: tension the band, then crimp the buckle | Feeding band into a tie gun, which cannot grip the width |
| Acetal weather-resistant double-buckle ties | Double-buckle tensioning tool | Moderate tension, reusable joint | Tightening like a nylon tie and cracking the buckle |
Illustrative split of stainless steel tie specifications by coating type. Not test data.
Coating choice also decides the blade. A cutter set for uncoated 316 will bite straight through polyester coating and leave an exposed edge. If most of your ties are coated, ask for a tool with adjustable cut depth or a coating-friendly nose piece.
Volume per operator per shift is the only reliable selector. As a working rule:
Typical ties installed per operator per hour. Illustrative planning figures; actual cycle time depends on tie size, bundle diameter and reach.
Tool price is not the deciding number. Cost per 1,000 ties installed is. A battery gun carries tool amortisation, batteries and service, while a manual gun carries labour. Below roughly 100,000 ties a year the manual tool is usually cheaper; above that the automatic tool pulls ahead.
Relative cost per 1,000 ties installed against annual volume. Illustrative model for planning discussions, not a quotation.
Read the crossover as a question rather than a number: at your annual volume, which cost is bigger, the hours your team spends tensioning, or the tool, battery and service bill? A shop at 50,000 ties a year usually belongs on the manual side. A shop at 400,000 usually does not.
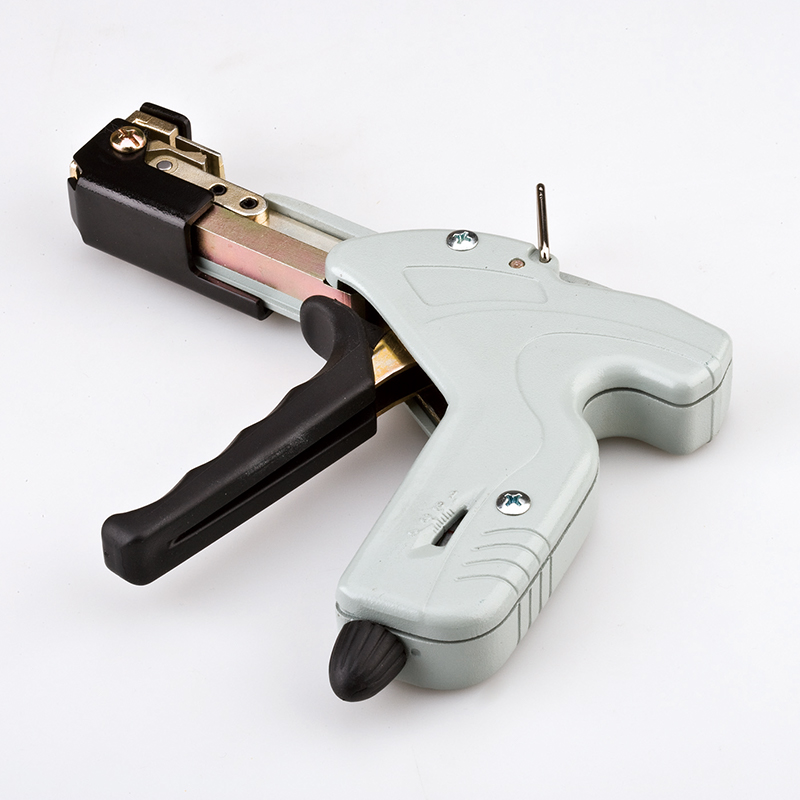 LBG Cable Tie Automatic GunAutomatic gun, easy to install with single hand operation.View Product →
For teams crossing that line, a power-fed automatic gun such as the LBG type is the usual next step: it feeds, tensions and cuts on a single trigger press, and the tension dial is set once per tie size rather than once per bundle. The wider selection of tensioning and crimping tools sits in the hand tools range, which is worth reviewing alongside the tie you buy most often.
Most cable tie failures are not tie failures. They are installation failures that pass a visual check.
Blades and nose pieces are consumables, not accessories. A dull blade raises the pull force required for the same result, which quietly over-tensions ties that look perfectly correct on the line.
Verify with the first ten pieces of every shift: pull each bundle by hand, look for jacket indentation, and check tail length against a gauge. If the tenth piece differs from the first, the tool needs attention, not the operator.
Stainless steel ties carry far higher loop tensile strength than nylon, which is why they are specified on offshore, rail and tunnel work. They also need a tool that tensions and cuts in a controlled way, because a hand-tightened stainless tie either under-performs or cuts the installer.
The rule: use a dedicated tension-and-cut strapping tool for stainless ties, matched to strap width. Ball-lock and ladder types tension from the tail side; buckled bands are tensioned first and crimped second. Never substitute a nylon tie gun, because the nose piece cannot grip the strap and the tension mechanism is set far below what 316 strap requires.
If you are still weighing coated against uncoated material, this guide on how to choose stainless steel cable ties covers the corrosion and abrasion trade-offs before you commit to a tool.
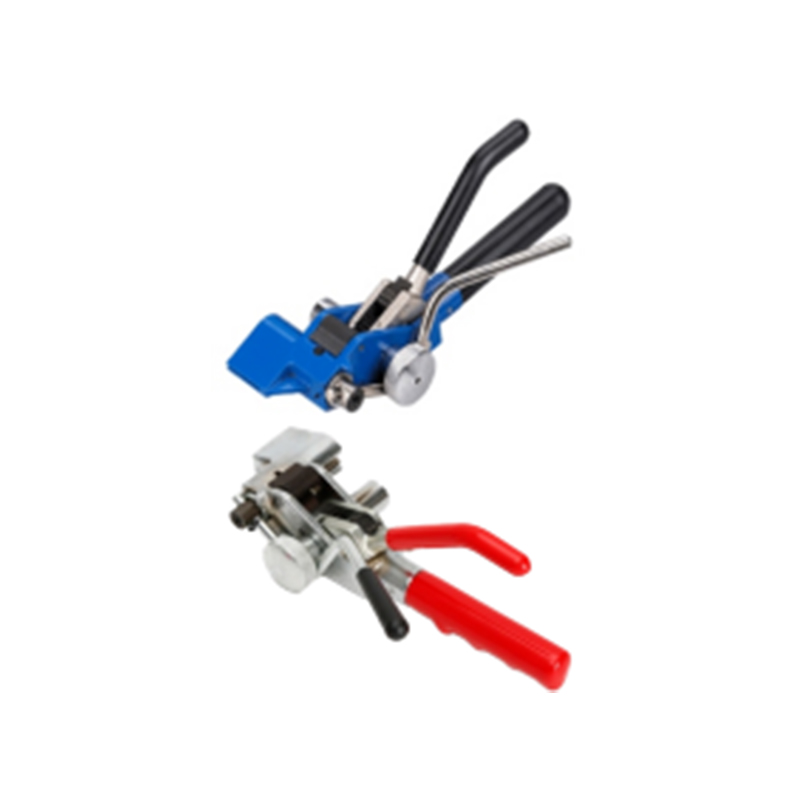 LQA Stainless Steel Cable Ties Strapping ToolTension and cut off.View Product →
Tools such as the LQA type tension and cut in one motion at a stroke length set for the strap, so the cut lands cleanly at the lock rather than through the coating.
Once strap width goes past roughly 8 mm, you have left tie gun territory. Wide 316 band, including 15.9 mm PPA-coated band used with cable cleats, is installed with a band tensioner and a separate buckle crimping tool. The tensioner pulls the band and the crimping tool locks the buckle. Doing it in the wrong order leaves a band that relaxes after a few thermal cycles.
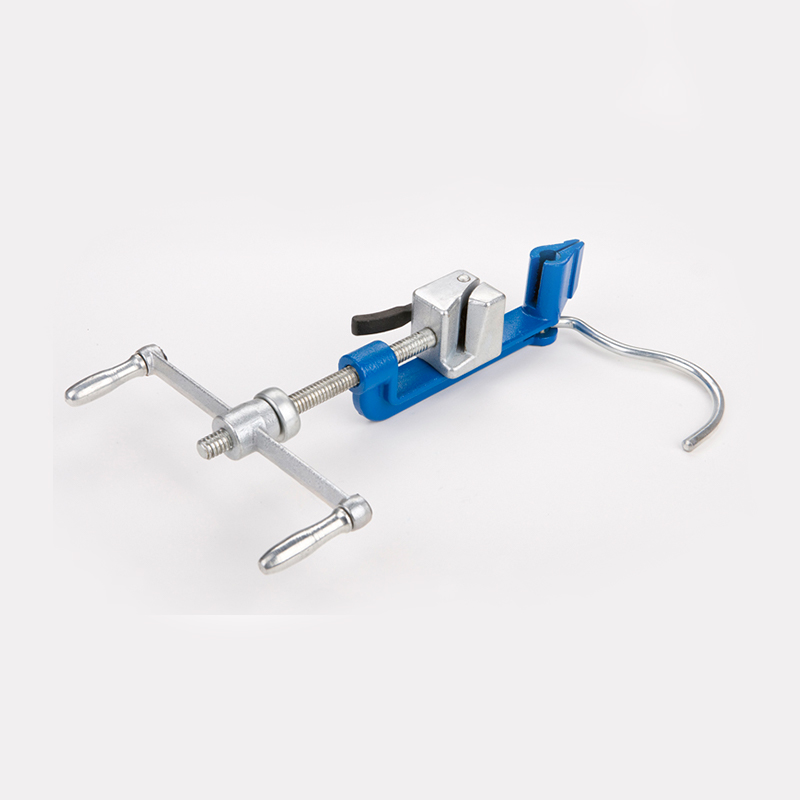 DQL Cable Tie Crimping ToolTension and cut off.View Product →
A crimping tool sized for the buckle series completes the pair, and it is worth buying both at once so the tensioner and the crimp head are matched to the same band gauge.
| Specification | Why it decides the purchase | What to check |
|---|---|---|
| Tie width capacity | The nose piece must match the tie width, or the head is chewed | 2.5-4.8 mm for nylon; up to 16 mm for stainless strap |
| Strap thickness | Thick coated strap will not feed through a tight guide | Feed slot clearance against the actual strap gauge |
| Tension range | Must sit above what the tie needs and below what the cable tolerates | Adjustable dial with useful control at the low end |
| Cut mode | Flush, recessed or no-cut changes rework and corrosion risk | Coating-safe cut depth for coated stainless ties |
| Power source | Manual, battery or pneumatic changes the whole workflow | Air quality and line availability on the shop floor |
| Cycle time | Sets real throughput, not catalogue throughput | Measured on your tie size and bundle diameter |
| Spare parts | An unavailable blade stops the line | Blade, nose piece, spring and seal availability |
| Service interval | Wear is driven by volume, not by calendar months | Recommended service expressed in tie count |
The tool guides the tie tail into a tensioning mechanism, pulls it to the force set on the dial, and a blade trims the tail. Automatic versions add a feed path so ties load from a magazine or a strip.
No. Nylon ties are tensioned by a pawl against a nylon head, while stainless ties need a strapping tool with a cutter rated for 316 strap. Forcing both with one tool damages the tie head or the tool.
Tight enough that the bundle cannot slide by hand, loose enough that the jacket shows no indentation. Start at the low end of the dial, install ten pieces, inspect them, then step up one setting.
By tie count, not by calendar date. Track the count and replace the blade at the first sign of ragged tails or increased pull force, because that is when over-tensioning begins.
Usually a different nose piece is enough. Move to a second tool only when strap widths differ by more than the stated range of the tool.
The purchase decision comes down to three lines on a datasheet: tie material, strap width and ties per shift. Everything else, from blade supplier to battery chemistry, is secondary. Get the first three right and the gun disappears into the workflow, which is exactly what a good installation tool should do.
Zhejiang Fengfan Cable Fittings manufactures stainless steel ties, nylon ties, cable cleats, marker systems and the matching hand tools, so ties and tools can be quoted together and the pairing verified before shipment.
The single cable Cleats made of 316 stainless steel is used for cable management. It is corrosion-resistant, high-temperature resistant and meets international standards. It is suitable for various ha...
See Detail
Manufactured from high-grade 316 stainless steel, this cable management system is specifically designed for secure cable retention in power generation, petrochemical, marine, offshore platforms, and c...
See Detail
Brand Name: FengfanApproved Certificate: DNV & ABS.Product Description: Cable Fixing Band and ClipsThe Lower Cost Alternative to Cable Cleats Product Benefits- Low profile finish- 316 grade stain...
See DetailMobile: +86-136 7685 3958
Email: lihai.fan@zjffdl.com
Mobile: +86-188 57530390
Email: alan.huang@zjffdl.com
No. 1116 Yasha Ave, Cao’e Street, Shangyu District, Shaoxing City, Zhejiang, China, 312300


+86-0575-8215 2808
/8200 8688/8239 2526

+86-0575-8215 2066
Copyright ©Zhejiang Fengfan Cable Fittings Co.,Ltd.
