+86-0575-8215 2808
/8200 8688/8239 2526

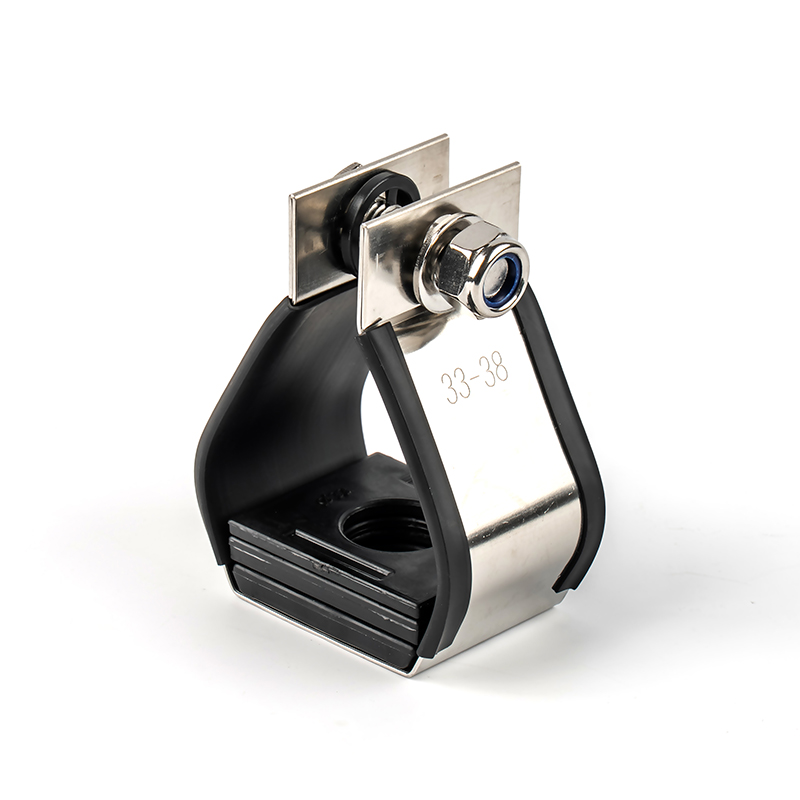
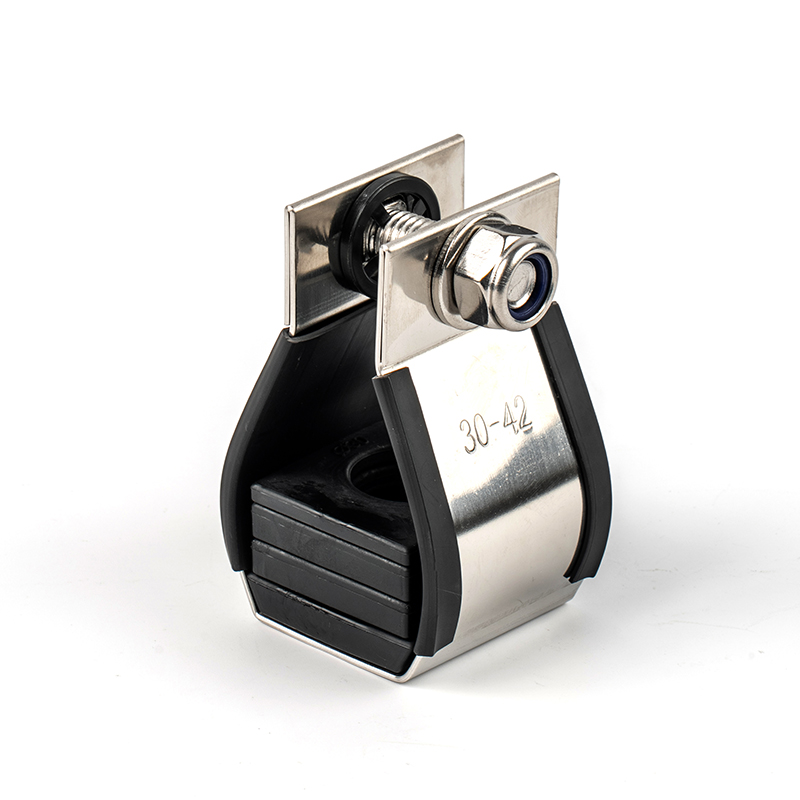
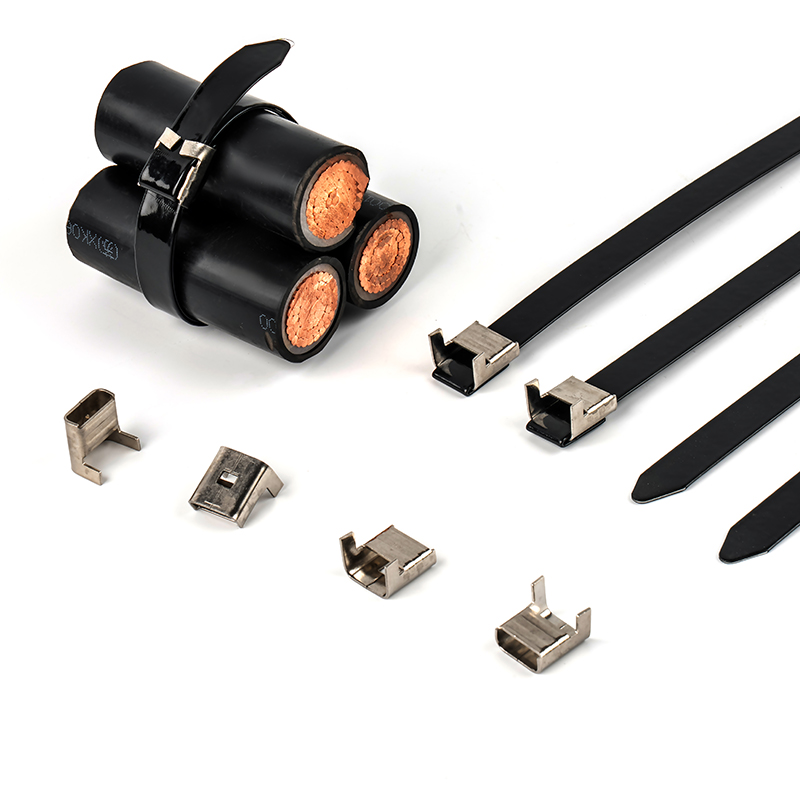
The single cable Cleats made of 316 stainless stee...
View more
Manufactured from high-grade 316 stainless steel, ...
View more
Brand Name: FengfanApproved Certificate: DNV &...
View more1. Site Preparation
Clean the cable surface of oil, dust, and residual insulation material, ensuring the marking surface is clean and dry.
Confirm the cable number, specifications, and laying route according to the design documents.
2.Select the appropriate marking method
Self-adhesive labels: Suitable for smooth surfaces, using weather-resistant adhesive, can be directly affixed to the cable sheath.
Clamp-type markings: Use stainless steel or aluminum alloy clamps with metal labels, suitable for large-diameter or multiple cable bundles.
Poles/Warning signs: Install poles at cable entry/exit points (such as pipe openings, equipment rooms), with a spacing not exceeding 100m.
3. Marking Location Layout
Critical Nodes: Cable Markers must be installed at cable entry/exit points, bends, branches, intersections, terminal junction boxes, etc.
Intermittent Layout: On long-distance cables, install self-adhesive labels every 3-5m for quick on-site identification.
Labeling Direction: Label text should be aligned along the cable's direction, using fade-resistant ink or laser engraving to ensure long-term legibility.
4. Fixing and Reinforcement
For self-adhesive labels, use a pressing tool to ensure proper adhesion; for clamp-type labels, use bolts or quick-release clips to secure them, preventing them from falling off due to vibration or tension.
In high-temperature or humid environments, waterproof tape or heat-shrink tubing can be added to the back of the label for secondary protection.
5. Recording and Delivery
After marking is completed, take photos on-site for archiving, and list the marking location, number, and marking type for each cable in the delivery documents.
Synchronize the marking information to the project management system for easy later maintenance and asset traceability.